Sprouting Small Wonders: Your Guide to Growing Microgreens
Hello to all the garden enthusiasts out there! Today, we’ll dive into the wonderful world of microgreens, those tiny, nutrient-packed, flavourful plants that can be grown right on your kitchen counter. Whether you’re an experienced gardener or just beginning, growing microgreens is a simple and rewarding process. Here’s how to do it:
What are Microgreens?
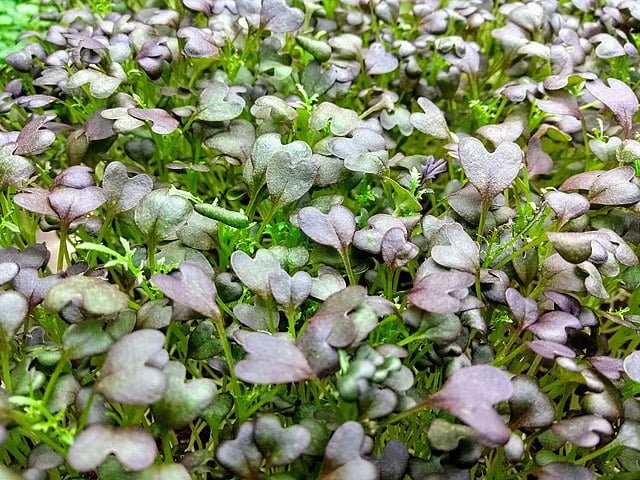
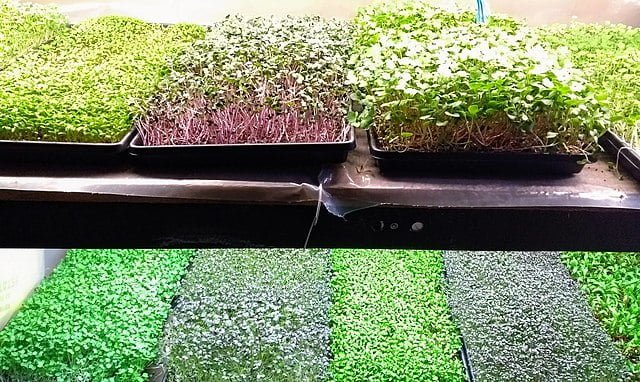
Microgreens are the seedlings of vegetables and herbs harvested less than 14 days after germination. They are usually 1-3 inches tall and have a surprisingly intense flavour relative to their size. While small in size, these little greens pack a nutritional punch and are full of vitamins, minerals, and antioxidants.
Choosing Your Microgreens
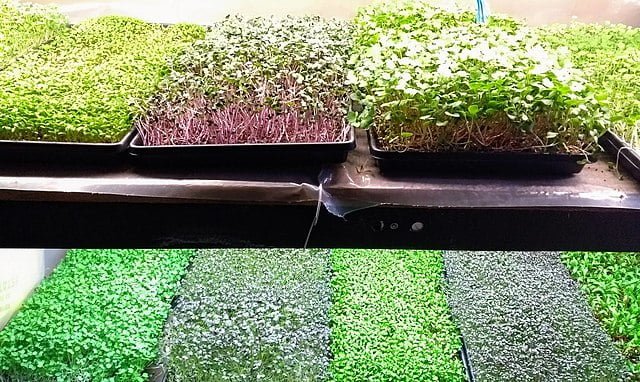
Almost any herb or vegetable can be grown as a microgreen, but some varieties are particularly popular. These include radish, kale, mustard, beet, broccoli, and arugula. Experiment with different seeds to find out which ones you prefer in terms of taste and growth rate.
Starting Your Microgreens
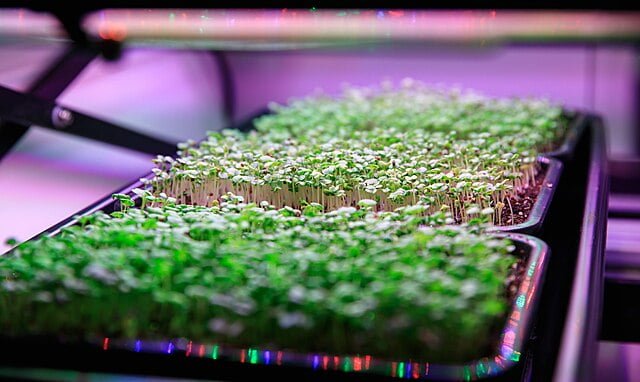
- Select a container: Almost any shallow container with drainage holes will work for growing microgreens. You can even use a repurposed take-out container – just be sure to punch holes in the bottom.
- Prepare the soil: Fill your container with a couple of inches of potting soil or a specific seed starting mix. Moisten the soil with water, ensuring it’s damp but not waterlogged.
- Sow the seeds: Sprinkle your chosen seeds across the surface of the soil, aiming for a dense, even coverage. Press them gently into the soil without covering them entirely.
- Initial Care: Cover your container with a second tray or a piece of plastic wrap to create a mini greenhouse. This will help maintain humidity and encourage germination.
Growing and Harvesting Your Microgreens
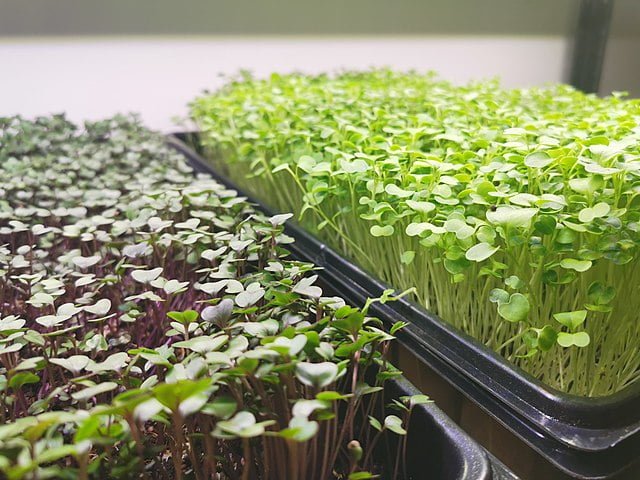
- Sunlight and Water: Once your seeds have sprouted, remove the cover and place the container in a location that gets plenty of light, but not direct sun. Water your microgreens lightly once or twice a day to keep the soil moist.
- Harvesting: Within 1-2 weeks, your microgreens should be ready to harvest. They’re best eaten when they have two fully formed cotyledon leaves, and possibly one set of true leaves. To harvest, simply snip the microgreens just above soil level using scissors.
Enjoying Your Microgreens

Microgreens can add a burst of flavour and colour to just about any dish. Sprinkle them on salads, sandwiches, pizzas, or blend them into smoothies or juices. Their rich, intense flavours can really elevate your meals, and their nutritional benefits are an added bonus!
Growing microgreens is a fantastic gardening project, especially for those with limited space. It’s simple, quick, and incredibly rewarding. So why not give it a go and reap the benefits of these tiny, mighty greens?

