Growing Jerusalem Artichokes: Cultivating Nutritious and Unique Tubers
Jerusalem artichokes, also known as sunchokes, are not actually artichokes nor are they from Jerusalem. They are a species of sunflower native to North America and produce delicious tubers that can be enjoyed in various culinary dishes. If you’re interested in cultivating these versatile and nutritious tubers, this guide will provide you with simple steps to successfully grow Jerusalem artichokes.
Understanding Jerusalem Artichokes
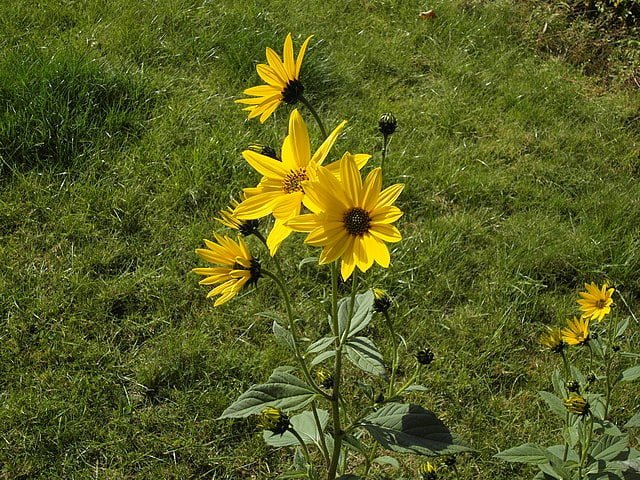
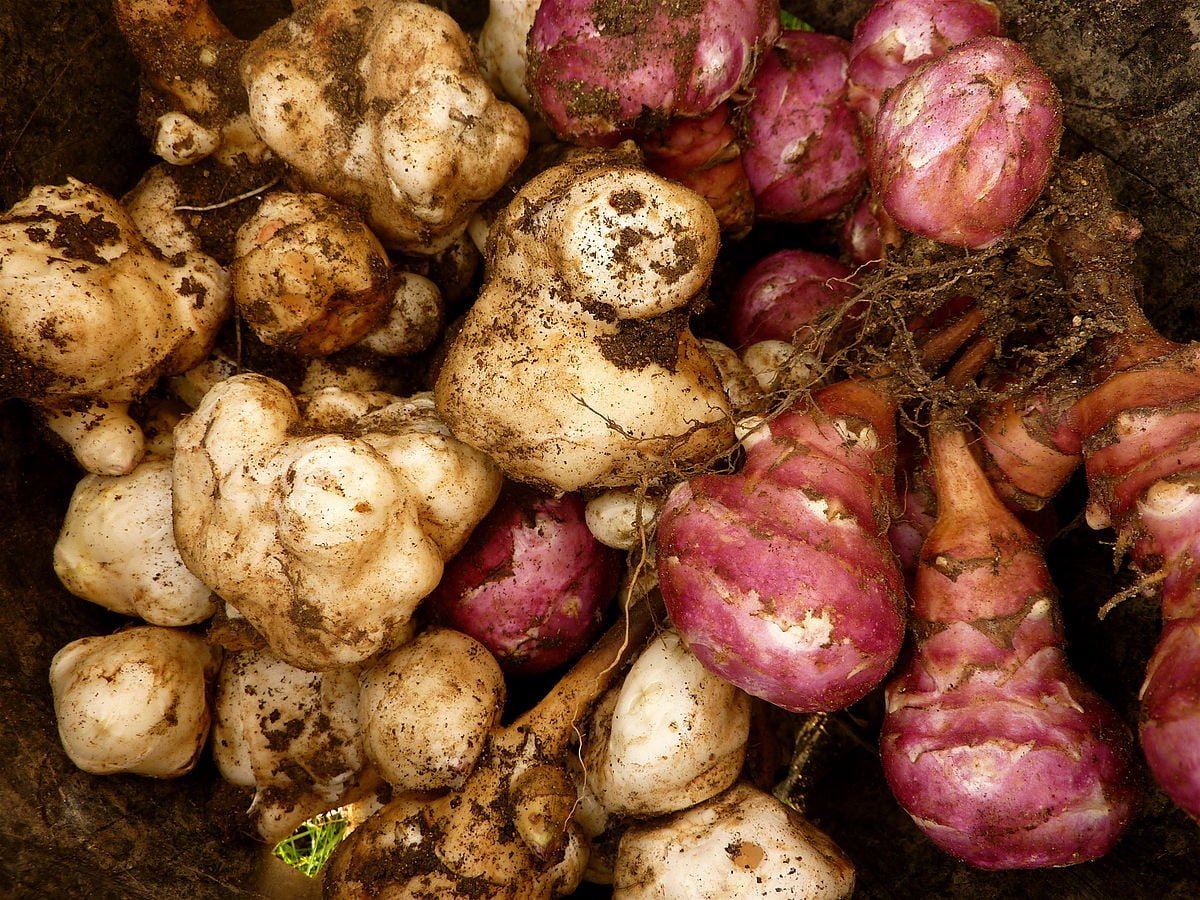
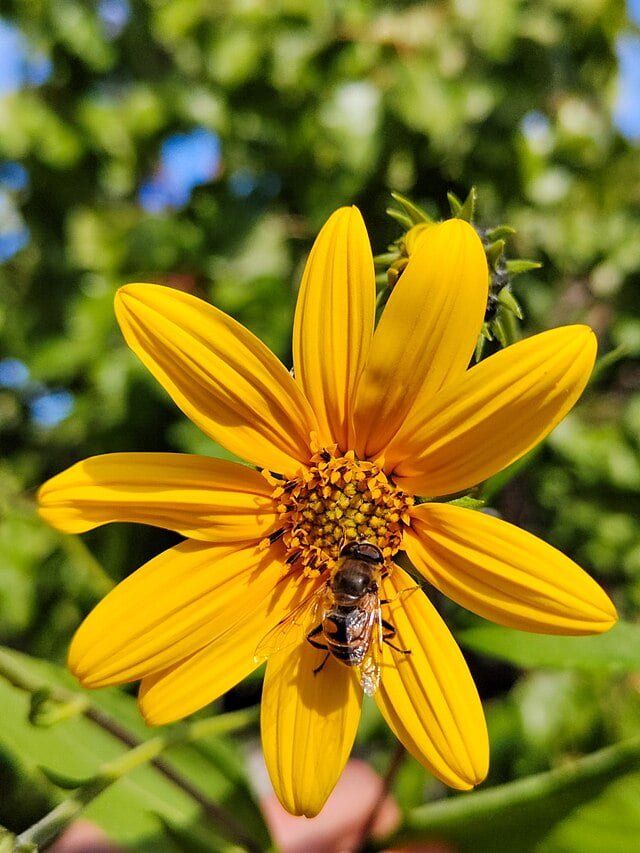
Jerusalem artichokes (Helianthus tuberosus) are perennial plants that belong to the sunflower family. They produce tall, sunflower-like stalks topped with yellow flowers in late summer or early fall. Beneath the soil, they develop knobby tubers that are similar in appearance to ginger root. These tubers are the edible part of the plant and can be cooked and enjoyed in a variety of ways.
Choosing the Planting Location
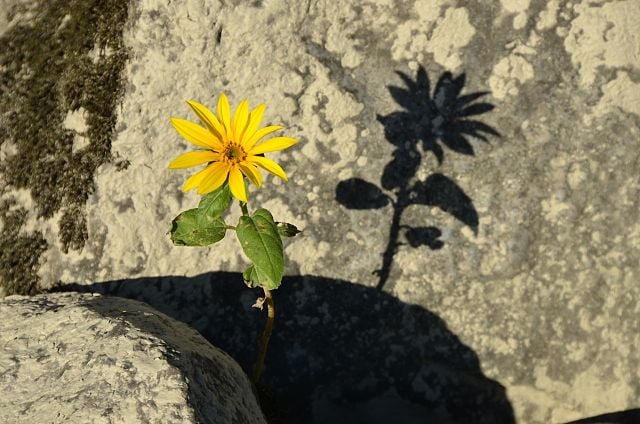
Jerusalem artichokes thrive in full sun but can tolerate partial shade. Select a spot in your garden that receives at least 6 hours of direct sunlight daily. They prefer well-draining soil with a pH level between 6.0 and 7.5. Jerusalem artichokes are quite adaptable and can grow in various soil types, including sandy or clay soils. However, amending the soil with organic matter, such as compost or well-rotted manure, can help improve its fertility and structure.
Planting Jerusalem Artichoke Tubers

Plant Jerusalem artichoke tubers in early spring after the last frost has passed. Prepare the planting area by loosening the soil to a depth of about 8-10 inches. Place the tubers in the soil, about 3-5 inches deep and 12-18 inches apart. Jerusalem artichokes can spread vigorously, so providing enough space between plants is essential. Cover the tubers with soil and gently firm it around them.
Watering and Care
Jerusalem artichokes require regular watering, especially during dry spells or in their early establishment stage. Water the plants deeply to ensure the soil is evenly moist but not waterlogged. Aim for about 1 inch of water per week, adjusting based on weather conditions. Mulching around the plants with organic material, such as straw or wood chips, can help retain moisture, suppress weeds, and regulate soil temperature. However, avoid excessive mulching, as it can result in excessive moisture retention.
Controlling Spread

Jerusalem artichokes have a tendency to spread vigorously, thanks to their underground rhizomes. To control their spread, consider planting them in containers or using barriers such as buried edging or a deep-rooted barrier material. Regularly monitor the planting area for any escaping rhizomes and remove them promptly to prevent unwanted spreading.
Harvesting Jerusalem Artichokes
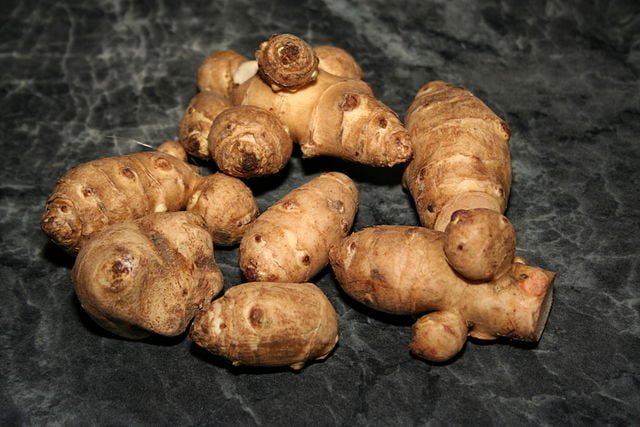
Jerusalem artichokes are typically ready for harvest in late fall or early winter when the foliage starts to die back. To harvest the tubers, use a garden fork or shovel to carefully dig around the plants, loosening the soil. Gently lift the tubers from the ground, being mindful not to damage or break them. Harvest only what you need, as the tubers are best enjoyed fresh.
Storing and Enjoying
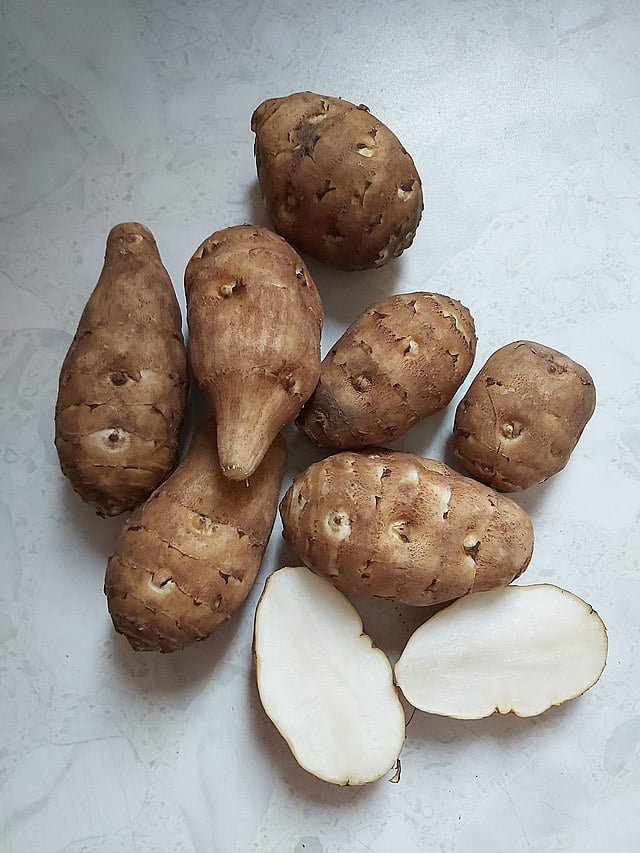
Jerusalem artichokes can be stored for several weeks in a cool, dark, and dry location, similar to how you store potatoes. They can be enjoyed in a variety of ways, including roasted, boiled, sautéed, or mashed. Their unique flavour and crisp texture make them a delightful addition to soups, stews, salads, or simply enjoyed as a side dish. Experiment with different recipes to discover your favourite way to enjoy these versatile tubers.
Growing Jerusalem artichokes is an exciting adventure that provides a bountiful harvest of nutritious tubers. By following these simple steps and providing the right growing conditions, you can enjoy the flavours and benefits of these unique plants in your garden and culinary creations.

