Bean Sprouts at Home: A Simple Guide to Fresh, Nutritious Sprouts
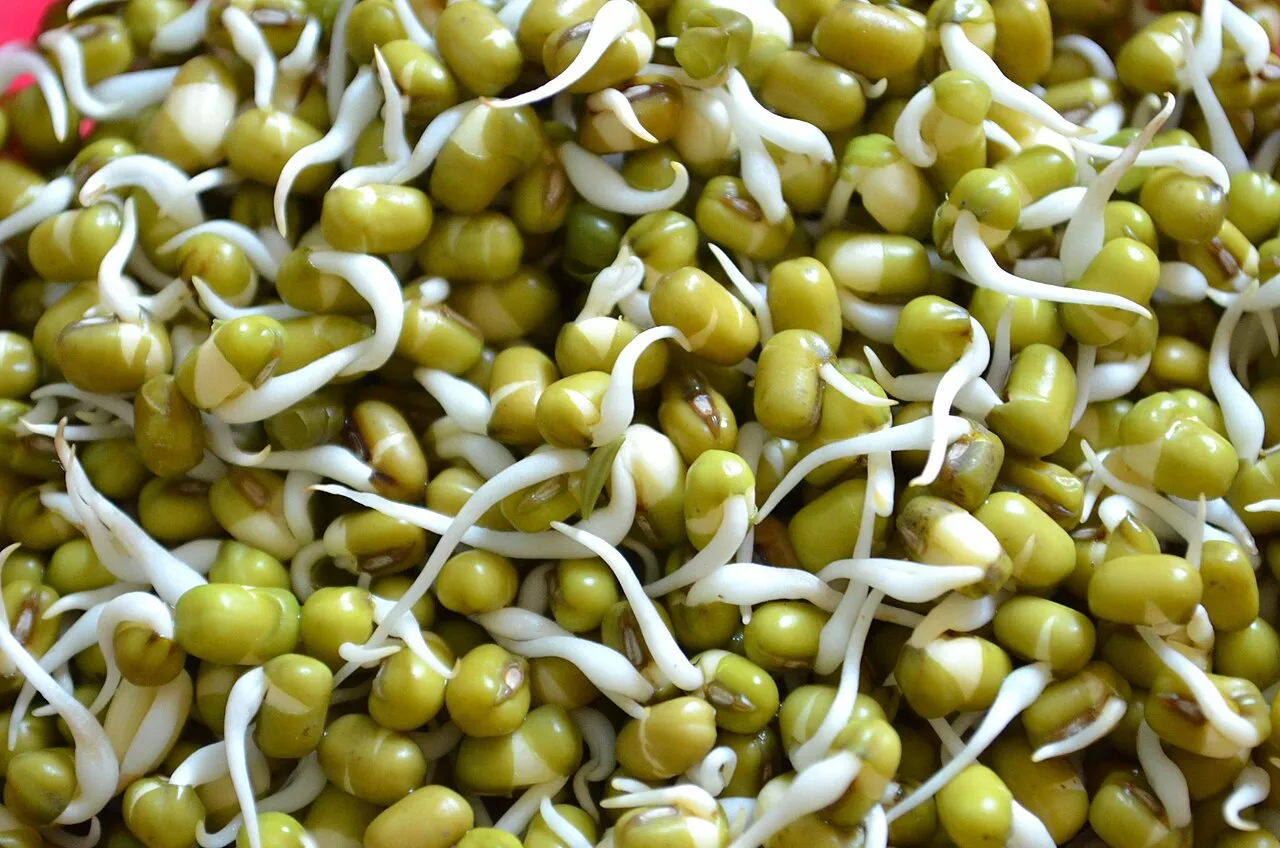
Bean sprouts, the young shoots of germinated beans, are highly nutritious, offering a rich source of protein, vitamin C, and fiber. They’re a staple in various cuisines, adding a fresh crunch to salads, sandwiches, stir-fries, and more. Growing your own bean sprouts is easy and requires minimal equipment, making it a great project for gardeners and cooks alike.
Types of Beans to Sprout
While mung beans and soybeans are the most commonly sprouted beans, many other types, such as lentils, chickpeas, and adzuki beans, are also excellent for sprouting. Each type offers a unique flavour and nutritional profile.
What You’ll Need
- Beans: Use whole, untreated beans or seeds meant for sprouting or culinary use.
- Jar: A wide-mouth glass jar is ideal for sprouting most beans.
- Screen or Mesh: A piece of cheesecloth or a sprouting lid will allow air flow and drainage while keeping the beans covered.
- Bowl or Tray: For propping the jar at an angle to drain.
Steps to Sprout Beans
- Select and Rinse: Choose high-quality, whole beans. Rinse them thoroughly in cool, clean water to remove any debris.
- Soaking: Place the rinsed beans in the jar and cover with several inches of water. Soak the beans overnight, or for 8-12 hours, to begin the germination process.
- Draining: After soaking, drain the water using the screen or mesh. Rinse the beans with fresh water, then drain again.
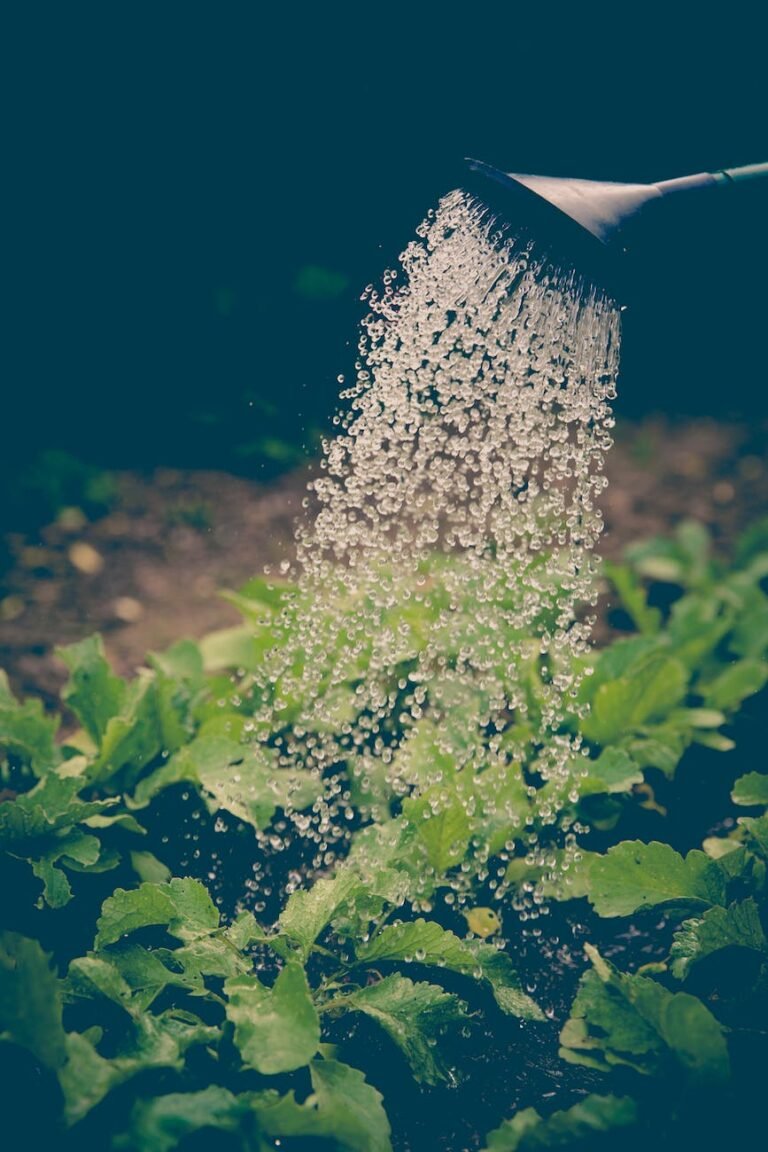
- Rinsing and Draining Routine: Twice a day, rinse the beans with fresh water and drain thoroughly. Continue this process for 3-5 days. Keep the jar at room temperature out of direct sunlight.
- Harvesting: When the sprouts have reached your desired length, usually 1-2 inches, they are ready to harvest. Give them one final rinse and drain well.
- Storing: Store the sprouts in the refrigerator in a container lined with paper towels to absorb excess moisture. Use them within a week for the best freshness and crunch.
Tips for Successful Bean Sprouting
- Sanitation: Start with a clean jar and utensils to minimize the risk of bacterial growth. Washing your hands before handling the sprouts is also crucial.
- Aeration: Ensure your sprouts have plenty of air circulation to prevent mold growth. Don’t overcrowd the jar.
- Light: While sprouts don’t need light to grow, placing them near a window on the last day can help develop chlorophyll, turning them a vibrant green.
Using Bean Sprouts
Bean sprouts can be eaten raw or cooked. Add them to salads for a crispy texture, incorporate them into spring rolls, or toss them into a stir-fry at the last minute to retain their crunch. Sprouts are a versatile ingredient that can enhance the nutritional value and freshness of your meals.
Final Thoughts
Growing bean sprouts at home is an easy and rewarding way to add fresh, nutritious ingredients to your diet. With just a jar, some beans, and a few days, you can enjoy the crisp, fresh flavor of homegrown sprouts in your favourite dishes.

