Saving Seeds from Your Garden: The Ultimate Guide
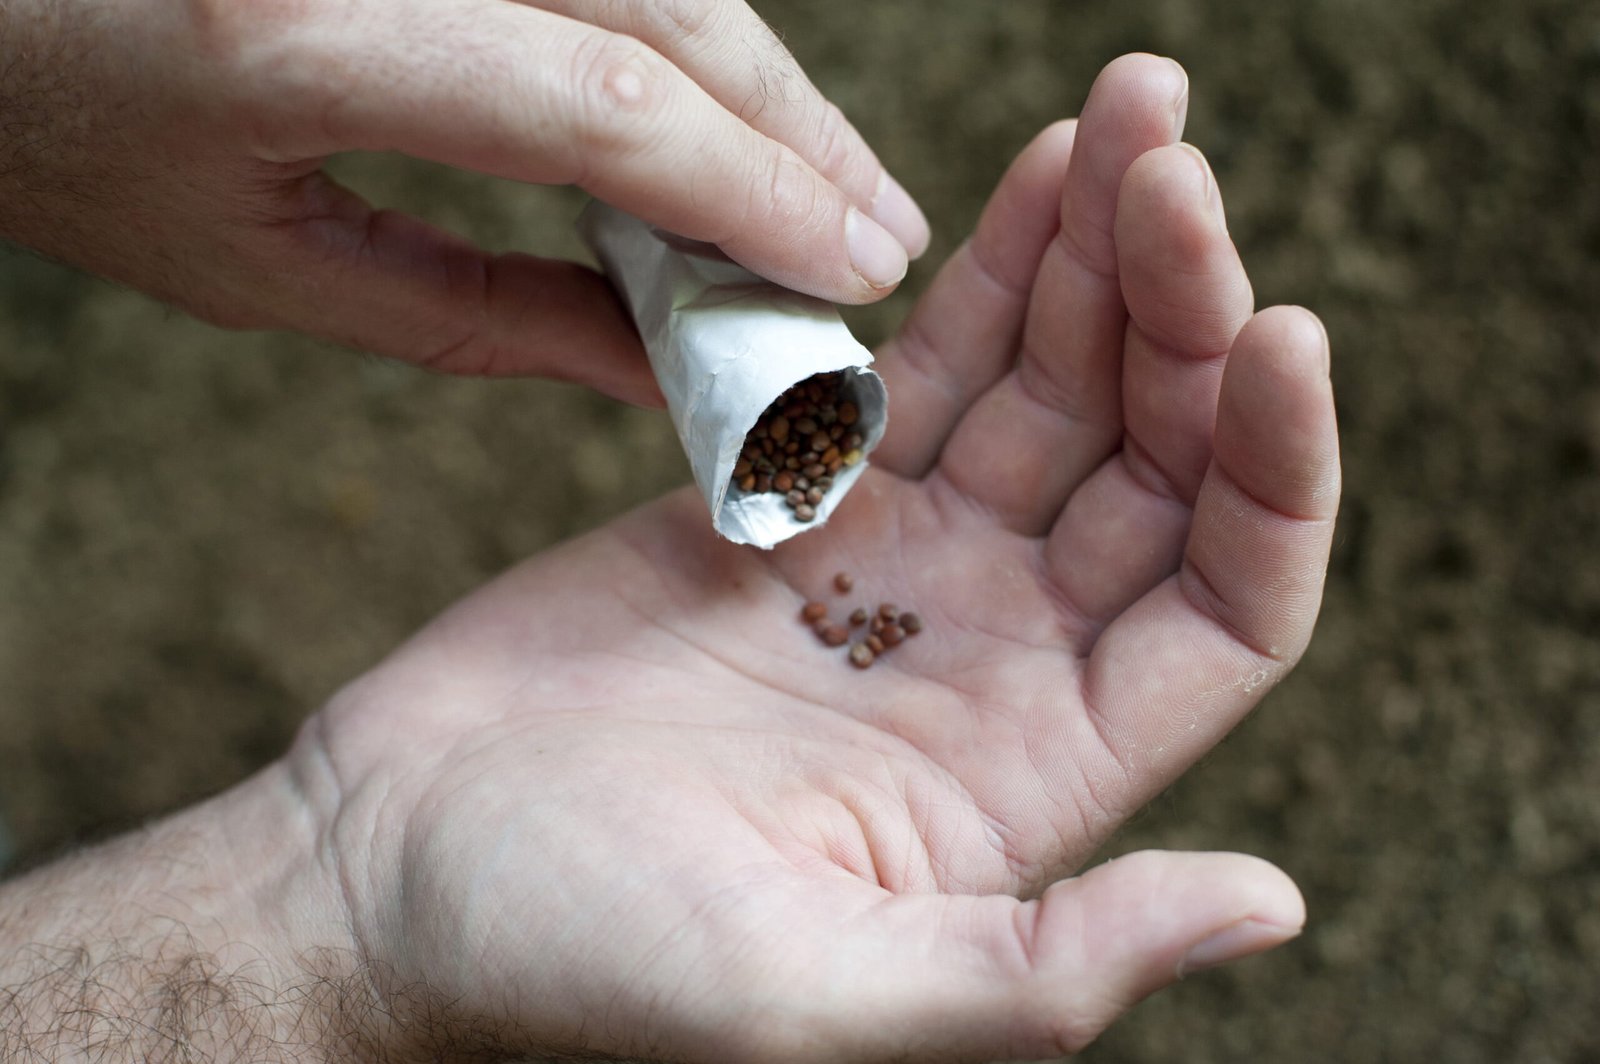
As a steward of the earth and an enthusiast at the Gardeners Emporium, there is an intrinsic satisfaction derived from cultivating your own garden. An essential part of this practice includes saving seeds. Seed saving not only conserves biodiversity but also preserves the genetic diversity of plant species. It’s a rewarding task that often gets overlooked, but by the end of this comprehensive guide, you’ll be equipped to save seeds from your garden effectively.
Why You Should Be Saving Seeds
Seed saving is an age-old tradition that has incredible benefits. Primarily, it helps gardeners become self-reliant by creating a continuous cycle of growth and renewal. It helps maintain heirloom varieties, contributes to biodiversity, and can save you money. Moreover, plants adapt to local growing conditions over time, and by saving seeds, you can cultivate plants that are more resistant to local pests and diseases, and better adapted to your garden’s microclimate.
Choosing Seeds to Save
The first step in saving seeds is to identify which plants are the best candidates. Heirloom varieties are a perfect choice because they are open-pollinated and genetically diverse. The plants grown from these seeds will exhibit traits similar to the parent plant. On the other hand, hybrid seeds, often found in commercial packets, might not produce plants that resemble their parents.
When choosing which plants to save seeds from, consider the health and vigour of the plant, the taste of its fruits, and its resistance to pests and diseases. You should always save seeds from the best performing plants in your garden.
- Tomatoes: Allow the fruit to ripen fully, then scoop out the seeds and pulp. Allow this to ferment in a jar for a few days, rinse, and dry before storing.
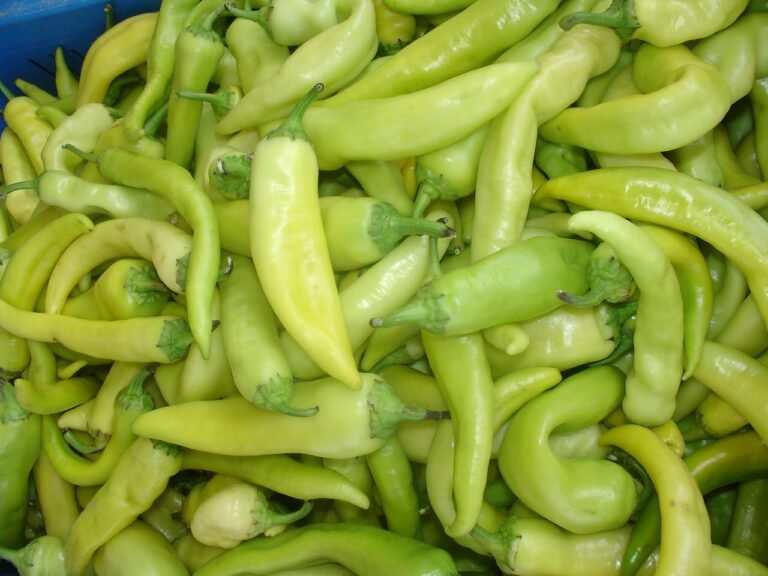
- Peppers: Let peppers ripen until they are red and start to wrinkle, then simply cut open the pepper and remove the seeds. Allow them to dry before storing.
- Beans and Peas: Allow the pods to dry out on the plant. Once dried, the seeds can be removed and stored.
- Lettuce: Lettuce seeds are found in the fluffy “puff” on top of the plant after it bolts. Collect these puffs, dry them out, and then carefully separate the seeds from the chaff.
- Cucumbers: Choose mature, overripe cucumbers. Scoop out the seeds, rinse well to remove the pulp, and allow to dry before storing.
- Squash and Pumpkins: Allow the fruit to mature fully on the plant. Cut it open, scoop out the seeds, rinse off any pulp, and let the seeds dry before storing.
- Melons: Just like cucumbers, choose mature fruit. Remove the seeds, rinse well, and allow them to dry before storage.
- Eggplants: Allow the fruit to ripen past the stage where you’d normally eat it. Cut open, remove seeds, and let them dry.
- Carrots: Carrots are biennial, so they will produce seeds in their second year. After the flowers fade, the seeds can be harvested from the dried flower heads.
- Spinach: Allow some plants to bolt and form seed heads. Harvest these heads when they have dried out, and rub them between your hands to release the seeds.
- Basil: Allow the flowers to develop fully and start to dry out. You can then remove the seeds from the flower heads.
- Sunflowers: Let the sunflower heads dry out on the plant. Once dry, you can brush over the center of the flower head to release the seeds.
Basic Seed Saving Techniques
The techniques for saving seeds can vary depending on the plant type. Here, we focus on two main types: dry-seeded crops (such as peas, beans, and lettuce) and wet-seeded crops (such as tomatoes, cucumbers, and peppers).
- Dry-Seeded Crops: Allow the seeds to fully mature and dry out on the plant. Once dry, remove the seeds and spread them out in a cool, dry place for another week or two to ensure they’re thoroughly dried before storing.
- Wet-Seeded Crops: These seeds need to be removed from the mature fruit and cleaned. The cleaning process often involves a fermentation step to remove the seed coat and prevent diseases. After cleaning, dry the seeds thoroughly before storing them.
Storing Your Saved Seeds
Proper storage is crucial for seed viability. Store seeds in a cool, dark, and dry place. Use airtight containers like glass jars and label them with the plant name and date of storage. Seed viability varies among plant species, but most seeds can be stored for a few years if stored properly.
Sowing Your Saved Seeds
Before sowing your saved seeds, it’s wise to do a germination test. Place a few seeds between damp paper towels, keep them warm, and wait for them to sprout. This simple test will give you an idea of the seed viability.
When planting time comes, sow your seeds as you would normally do, considering the needs of each plant species. With time, you will notice the advantages of growing plants from your own saved seeds.
Saving seeds is a rewarding endeavour that preserves biodiversity, reduces dependence on commercial seeds, and enhances garden sustainability. By practicing seed saving, you contribute to the ancient tradition of seed stewardship while fostering a stronger, more adaptable garden.
Remember, the Gardeners Emporium is a fantastic resource for all your gardening needs, from in-depth articles to community advice. As we continue to sow, grow, and save seeds, we contribute to a more sustainable and green future.

