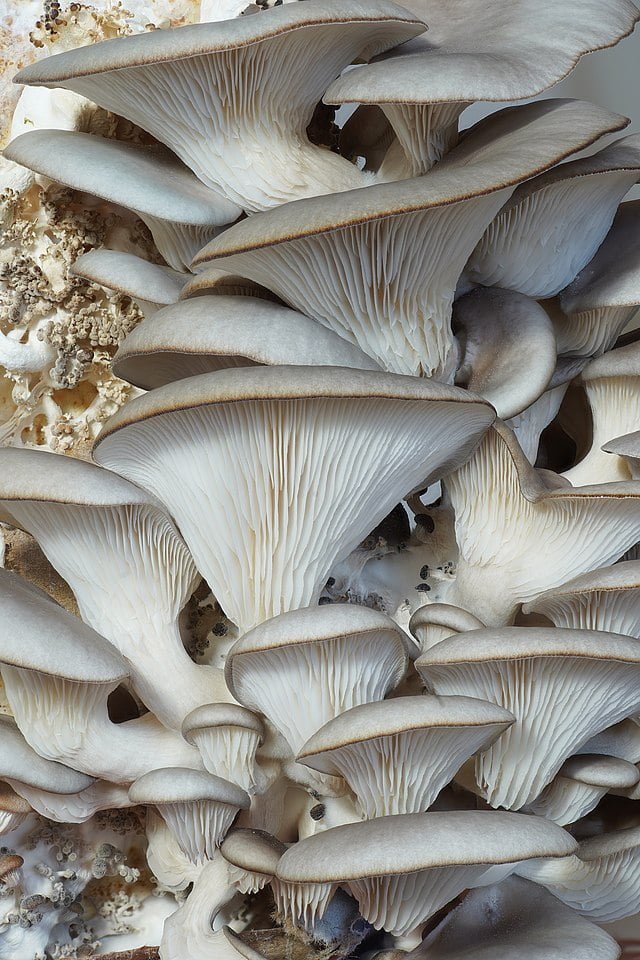
Growing Oyster Mushrooms at Home
Oyster mushrooms are not only a gourmet ingredient used in a variety of dishes, but they’re also fun and rewarding to grow at home. Here’s how to grow oyster mushrooms at home.
Selecting Your Spawn
The first step to growing oyster mushrooms is obtaining mushroom spawn. You can purchase ready-made spawn online or from a local gardening center. The two most common forms are grain spawn and sawdust spawn.
Preparation and Inoculation
- Substrate Preparation: Oyster mushrooms can grow on a variety of substrates, including straw, coffee grounds, or wood chips. Whichever you choose, you’ll need to pasteurize or sterilize it to kill any competing organisms.
- Inoculation: Once the substrate is prepared and cooled, mix in the mushroom spawn. It’s important to work as cleanly as possible to prevent contamination.
Incubation and Fruiting
- Incubation: After inoculation, the mixture needs to be kept in a warm, dark place for the mycelium to colonize the substrate. This may take 2-3 weeks.
- Fruiting: Once the mycelium has fully colonized the substrate, it’s time to initiate fruiting. Reduce the temperature, increase the humidity, and introduce indirect light. Small pins should appear in a week and mature into mushrooms in another week.
Harvesting and Storing
- Harvesting: Oyster mushrooms are ready to harvest when the edges of the caps begin to turn upwards. Gently twist and pull the cluster away from the substrate.
- Storing: Fresh mushrooms can be stored in the fridge for up to a week. For longer storage, consider drying them.
With a bit of preparation and care, you can grow your own supply of gourmet oyster mushrooms. Not only are they a tasty addition to your kitchen, but they can also be a fun, educational project to undertake at home.

